Bolludagur
Tomorrow is the first of three wonderful holidays in Iceland that make up Fastelavn, a carnival leading up to Lent. This first day is Bolludagur, or “Bun Day”. As the name suggests there’s a lot of sweet pastry action at the focus of the holiday.
By old tradition, kids used to make colorful sticks with colored paper called bolludagsvöndur (bun day wands) and then wack their parents with them. In one story I heard it told that the kids would wack the parents in bed on the morning of bolludagur and however many wacks they got in before the parents got out of bed was the number of bollur they got to eat. I’m not sure how accurate that story is, and that particular tradition seems to have been left in the past. Shocking, I know.
Bolludagsbollur or bollur are a cream-bun pastry made from chocolate or caramel-topped choux pastry (pâte à choux) and filled with whipped cream and jam. There are many varieties and variations, though, and some shops get quite elaborate with their offerings. Many people choose to assemble their bollur at home, purchasing the choux buns from the grocery store or bakery and filling them with their own favorite fillings and toppings.
That has been our method in the past, but this year I decided to put in a bit more effort and create the bollur from scratch. Now I should preface the rest of this post with the disclaimer: I like to cook, but I’m not much of a baker. Still, I gave it my best try.
Preparing the dough
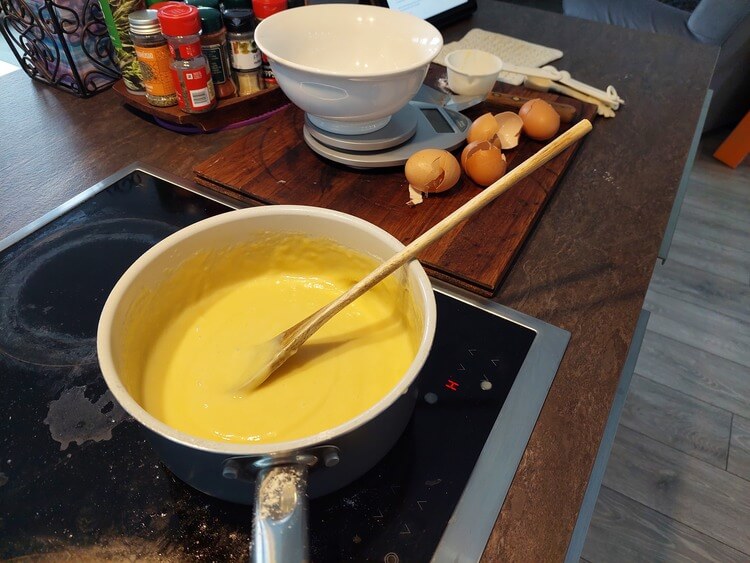
I started by looking online at various recipes for the buns. There’s a few varieties I found, but most seem to agree on water, milk, butter, salt, sugar, all-purpose flour, and eggs. That’s all stuff I have, so I figured I’m in good shape. I made sure to measure everything by weight and followed the first recipe to the letter.
Sadly, it turns out that recipe was missing a few important letters. As you may be able to see in the picture above, my dough was much too liquidy at first. I couldn’t understand why, since I’d measured by weight. Thankfully I knew that this step was effectively just making choux, so I abandoned my bollur recipes and switched to those and quickly found my issue. My recipe called for four eggs, added one at a time and worked into the dough. What it failed to say was that depending on the size of your eggs, you may only need 2 or 3. It’s all about the consistency.
It was too late to go backwards, and my choux research warned against just tossing in more flour. Instead I made another half-batch of the dough with zero eggs and blended it with the original mixture. Finally my consistency was good and I was ready to pipe it onto my pans.
Piping onto the pan
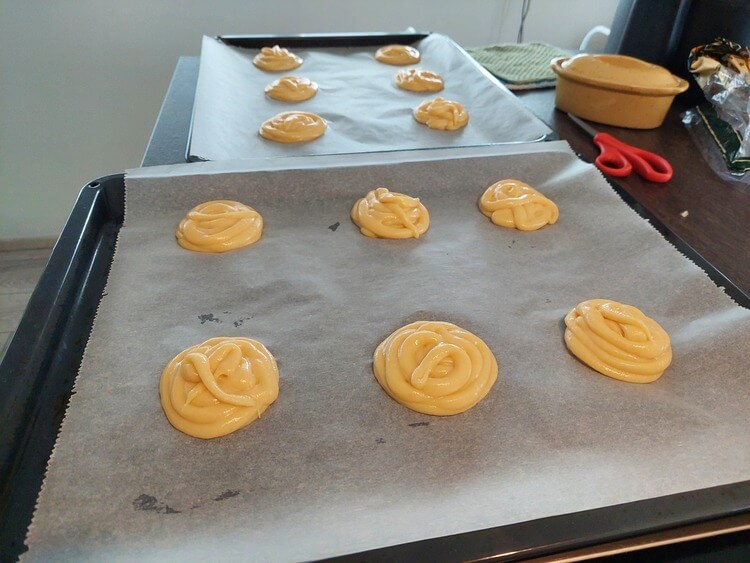
I’m not a baker. I don’t have piping tools. What I do have is zip-lock bags. I squeezed all my batter into a bag and snipped the tip and it worked just fine.
Baking
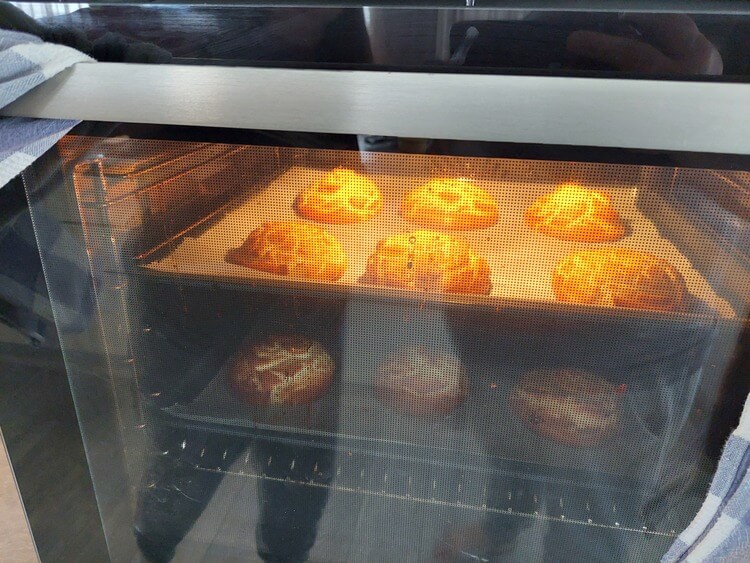
My original recipe called for the buns to be baked at 375°F or 190°C for 35 minutes. My choux recipe also had similar instructions, but for 30 minutes, and recommended venting out the steam regularly and poking the tops with a toothpick to let steam loose at the end. I followed the 190°C for 30 minutes instruction but had to pull them out after 25 minutes because they were beginning to burn. Perhaps it’s my oven that’s the issue, but I think 190°C was simply too hot. The insides really did need that last 5 minutes to fully bake, but it would have burned the outside to a crisp. Next time I’ll try 170°C and give them a little longer in the oven.
Cooling on the rack
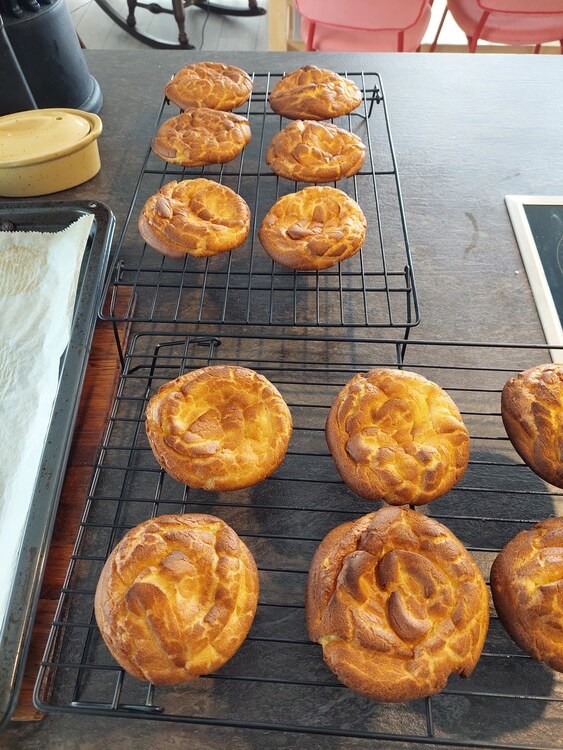
Because the insides were undercooked, they did the expected thing and sunk down flat. Without a crispy inner structure to hold them up this is a common problem. Thankfully by pulling them out at 25 minutes they remained edible.
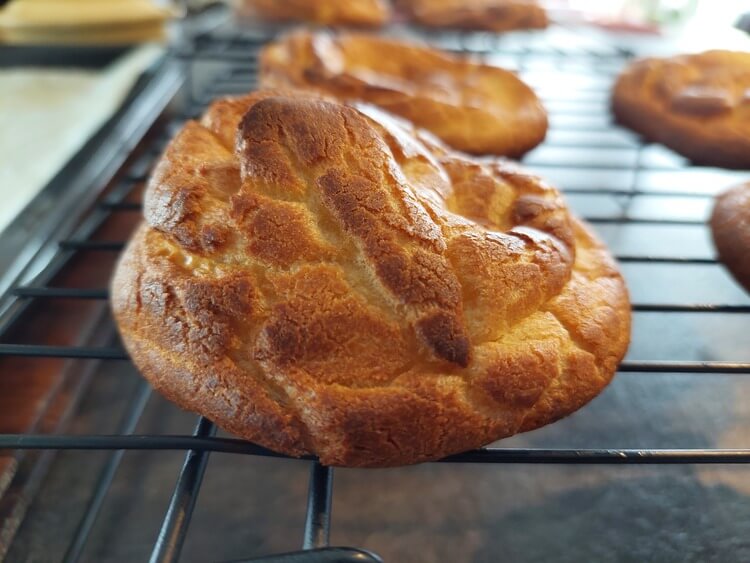
Sunken a bit
This was the least-sunken in of the buns. Not too bad, but I hope to improve next time.
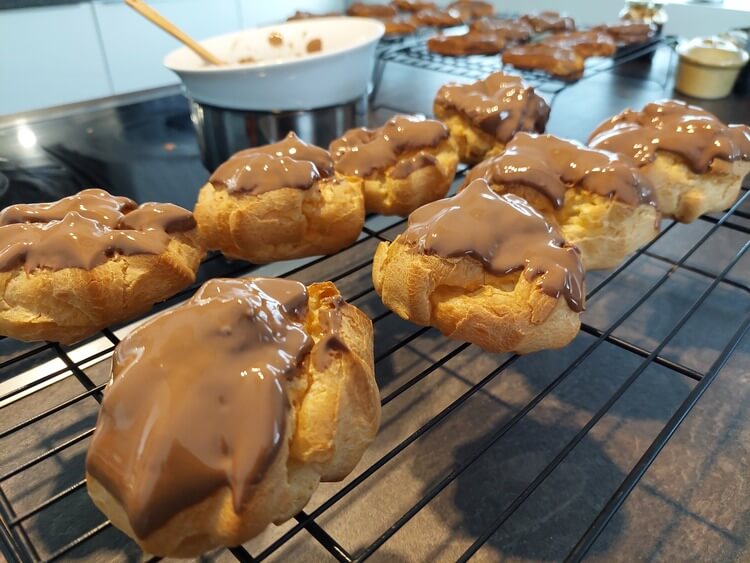
Dipping in chocolate
Leah ran out to grab some powdered sugar for the whipped cream, and while she did so she also grabbed a set of store-bought buns as backup in case mine turned out to be terrible. I tossed some chocolate chips in a porcelain bowl as a double-boiler and then we dipped all the buns in for their topping.
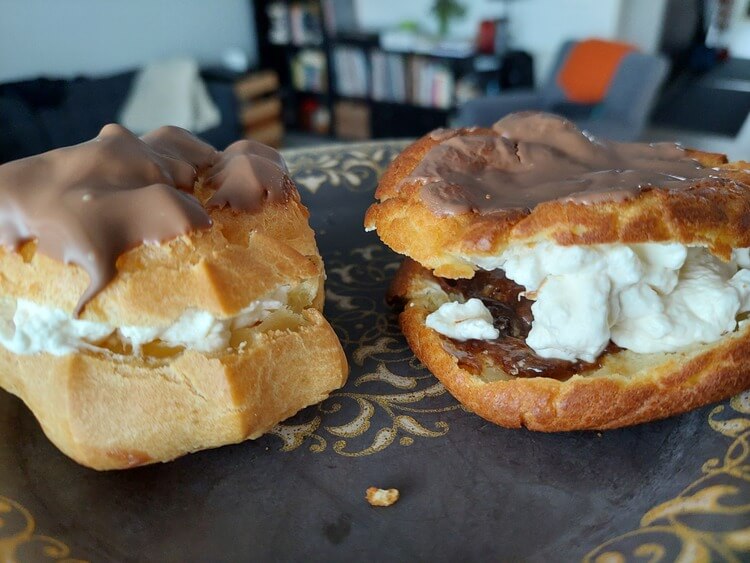
Side-by-side comparison
Finally it was time to stuff them full of freshly whipped cream and a bit of jam. We use rhubarb jam in ours, but it’s a personal preference thing. In the picture above the store-bought buns are on the left and my homemade ones are on the right. Once they were all stuffed the difference isn’t so clear.
Now we were ready for the taste test. I made one of each type for Wit, Leah, and myself. The final verdict: homemade tastes better, even if they were less fluffy.
Victory!