Keyboard Cleaning
It’s time to clean the keyboard. It’s gotten really gross.
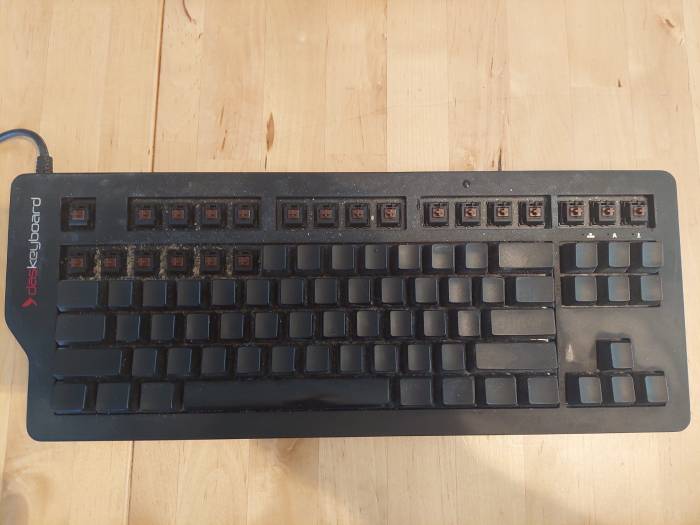
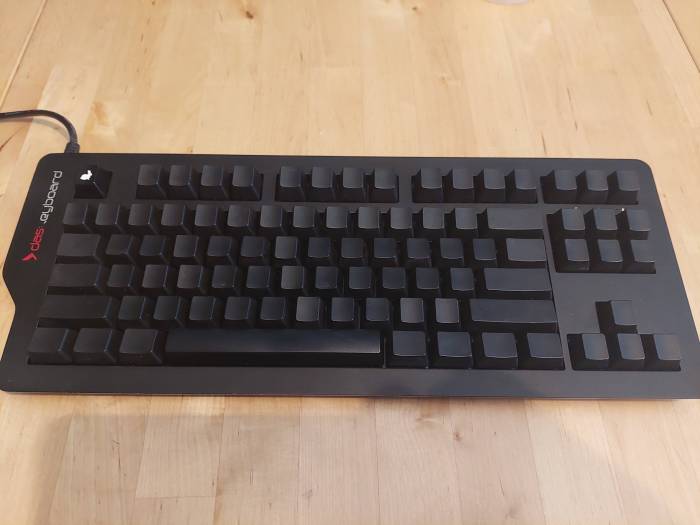
I begin by removing all the keycaps and revealing the switches. This is a mechanical keyboard. The Das Keyboard 4C, technically. I’ve got blank keycaps on it. That’s why you can’t see any of the letters. I do have a pretty little white rabbit on my escape key, though. It’s cute. You’ll see it down below.
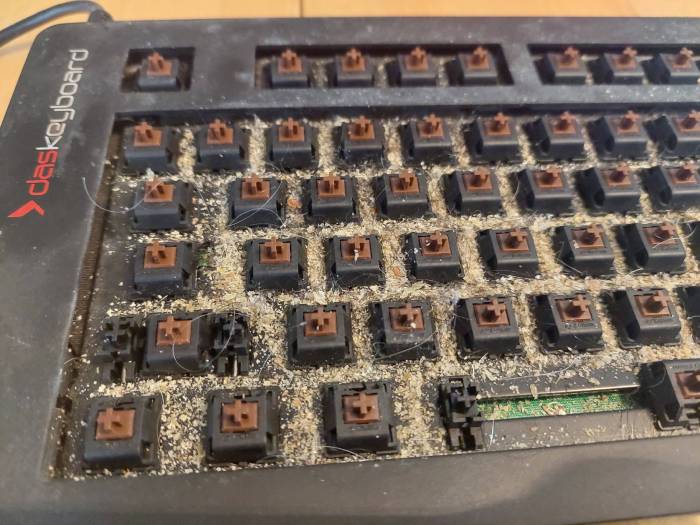
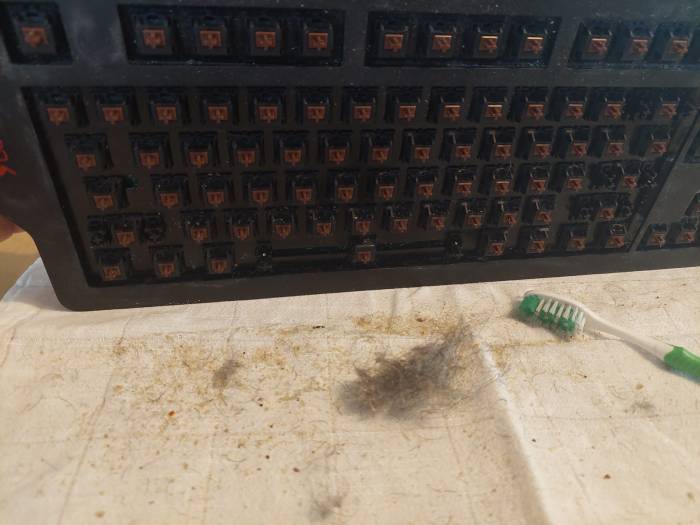
Oh gross. Look at all that dust and hair that’s accumulated under the keys. I was beginning to have problems hitting certain keys. That’s a sure sign it’s time for a cleaning.
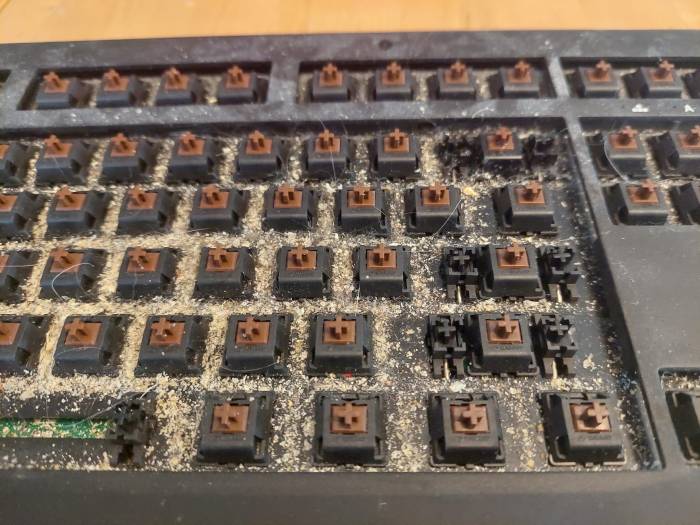
Hair and skin bits and everything else…yuck.
I started by shaking out what I could. I don’t have any compressed air at home, unfortunately. That would have helped this phase quite a bit. Instead I used some patience and a toothbrush.
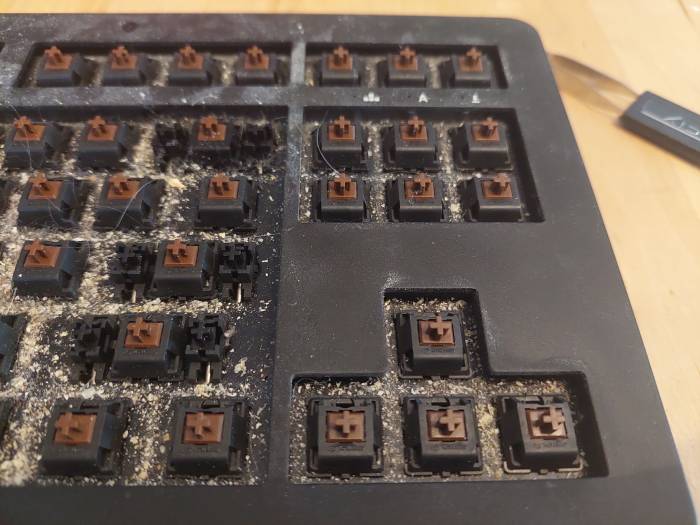
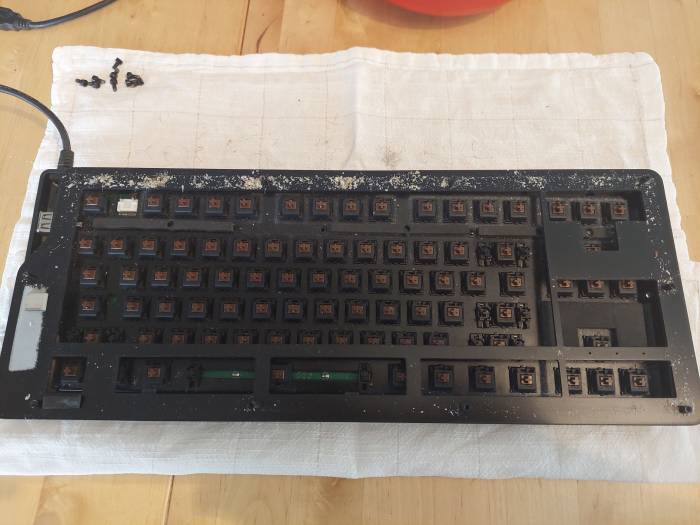
This keyboard has deep wells under the plate where dust can hide. So I had no choice but to unscrew the plate. It was dirty too.
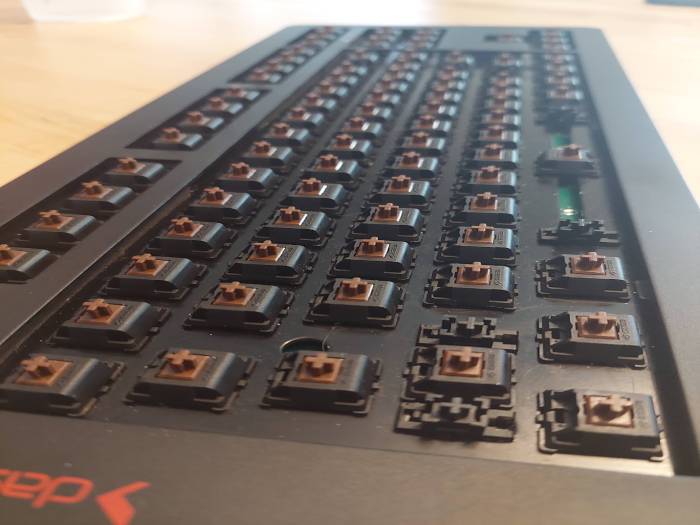
Once that was revealed I cleaned everything more with the toothbrush. Then I used a q-tip and some rubbing alcohol to get up the last of the grime between the switches. Looks nice now, doesn’t it?
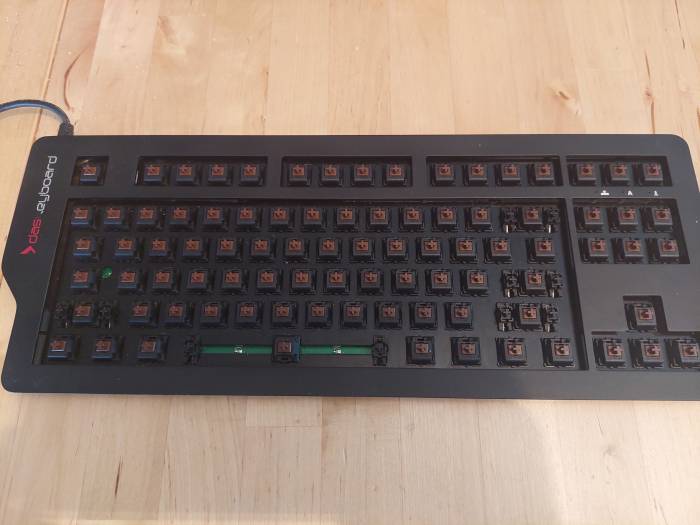
And with the plate back on it looks almost new.
While this was going on I was soaking the keycaps in warm soapy water. Time to dry them off. Now if I can just remember which goes where…
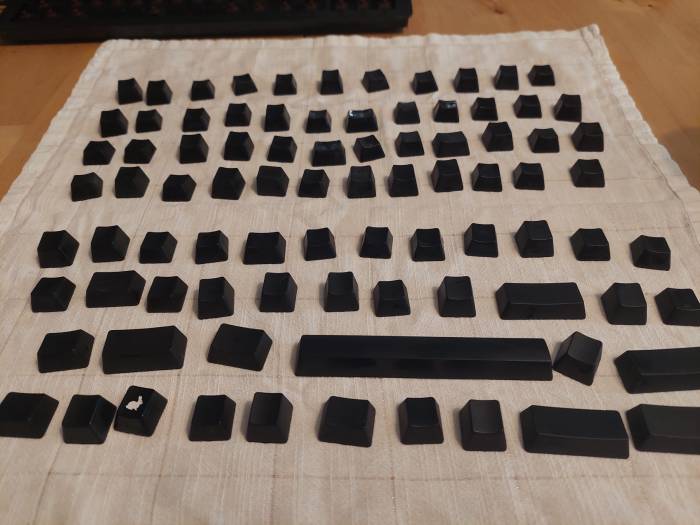
There we go. I’ve shuffled around the keys on each row, but you can’t really move them between rows without things getting weird. Keycaps have different angles for each row, you see. You can see some are shinier than others thanks to my hand oils typing on them all the time. A little shuffle will distribute the love.
Tada! And we’re ready to type again.